Creating & Editing Clients
Last updated: April 22, 2026
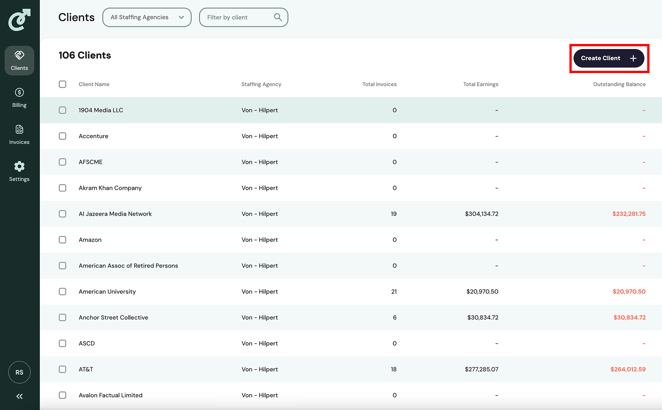
Create New Client
To create a new client, first navigate to the list of clients by clicking the “Clients” tab in the navigation bar. Once on the client list, click on the “Create Client” button in the top-right corner.
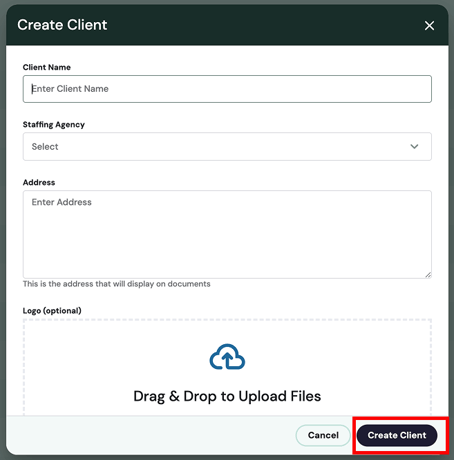
After you click the “Create Client” button, the “Create Client” pop-up will open, where you can define the client name, address, and logo. Once you have filled out the relevant information, click the “Create Client” button in the pop-up.
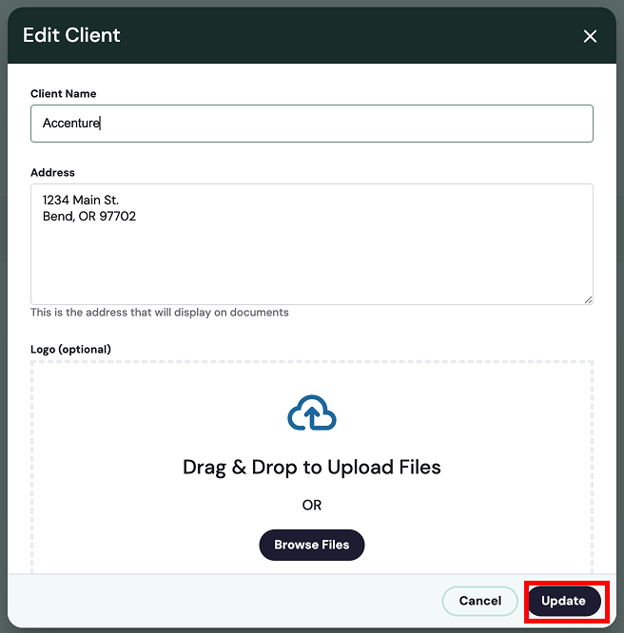
Edit Client
To edit a client, navigate to the client detail page by going to the list of clients and clicking the client you want to edit. You will land on the client details page. From here, click on the “Edit” button in the top-right corner.

After you click the “Edit” button, the “Edit Client” pop-up will open, where you can modify the client name, address, and logo. Once you have modified the relevant information, click the “Update” button in the pop-up.